Like any other machine, CPU coolers also need to be installed carefully. If it isn’t installed with great care, it can cause you many problems in the future. Improper installation may crash your CPU entirely and cause you to lose your essential data. The most important one is that it can make your processor hotter than usual, and as a protective measure, the CPU shuts down itself.
If you are installing a cooler, ensure the thermal paste is applied to it before because it is crucial to consider before installing a CPU cooler. The default cooler doesn’t need any thermal paste application. The default CPU coolers come with pre-applied thermal paste on their base. But, for aftermarket coolers, you must apply the thermal paste before installation. Installing a cooler in the CPU is easy, but the real struggle is installing a CPU cooler on the motherboard.
To install coolers correctly, here is the complete guide about installing CPU coolers.
Step-by-step instructions to install CPU cooler:

1. Check for thermal paste application:
Before installing the CPU cooler, ensure that the thermal paste is applied on the base of the cooler or on the header of the CPU where the cooler must be placed. Check whether the thermal paste is pre-applied, as default coolers have pre-applied thermal paste on them. At the same time, second-hand or aftermarket coolers need to be installed after the thermal paste application.
Settle the cooler on the CPU:
Hold your new cooler over the space of the CPU cooler in the CPU. Place the screws in their holes on the motherboard and tighten them slowly and lightly. Please don’t do it forcefully or hard.
2. Fix the CPU Cooler:
When the CPU cooler is placed in its position, it’s time to attach the CPU cooler to the motherboard. Now gradually tighten the screws with a light hand first; after that, you can increase the pressure. Ensure you tighten the screws diagonally; not just one part takes the stress. If you pull the screw in a square order, the pressure will be on either side, or it can affect the operation of the fan.
3. Attach the fans:
After fixing the cooler to the motherboard, attach the fans. If you have removed the fans, you can now connect the fans for better performance.
In the case of a water or liquid cooler, you must attach the radiator.
4. Connect to power:
After attaching every component of the cooling system or the CPU cooler, connect them to the power to check if everything is performing right and well.
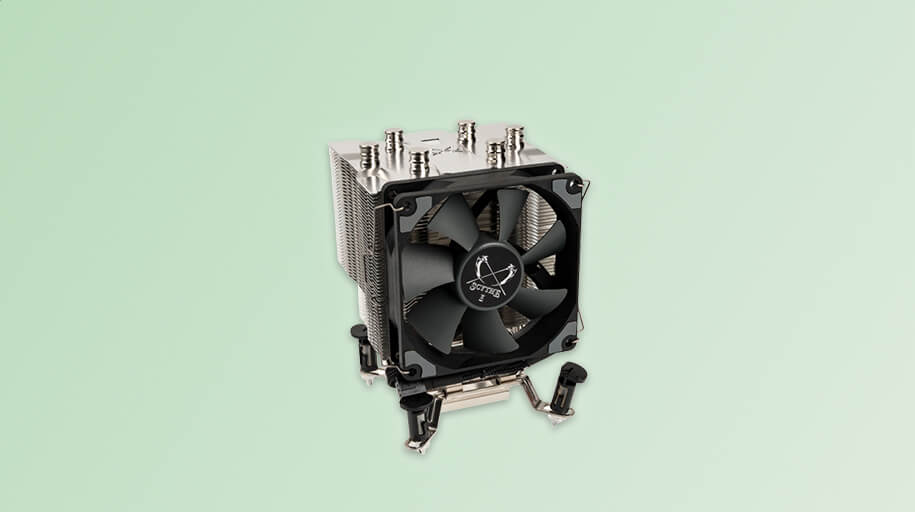
How to install an Air Cooler in the CPU?

The following are the steps to install the air cooler in the CPU.
- Attach the backplate. To hold the cooler firmly on the motherboard, it is attached or fixed at the back of the CPU cooler holder.
- Check out if a thermal paste application is needed or not. If it is required, then apply the thermal paste before installation.
- Attach the cooler to the top of the cooler space in the CPU. Put all the screws in the holes in the motherboard.
- Now tighten all the screws with a lighter hand. Refrain from fixing them with much pressure.
After all, connect the cooler to the power supply and check its operating performance.
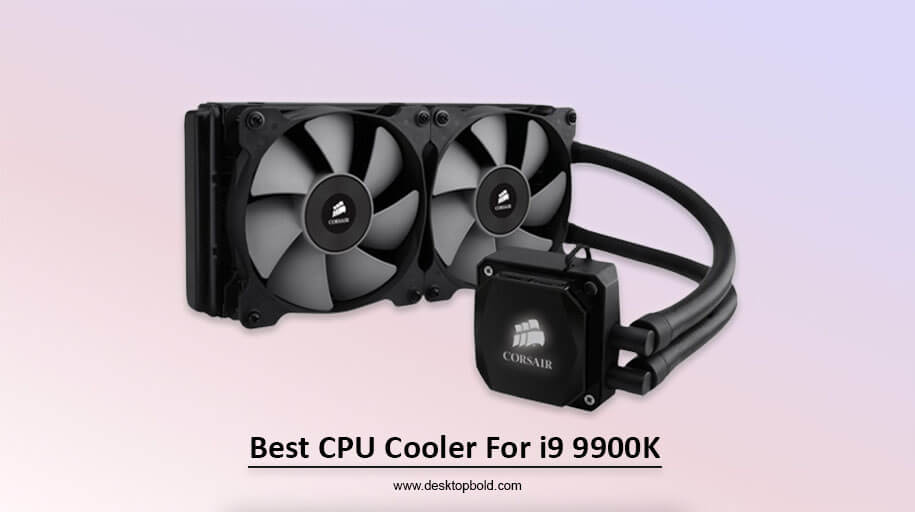
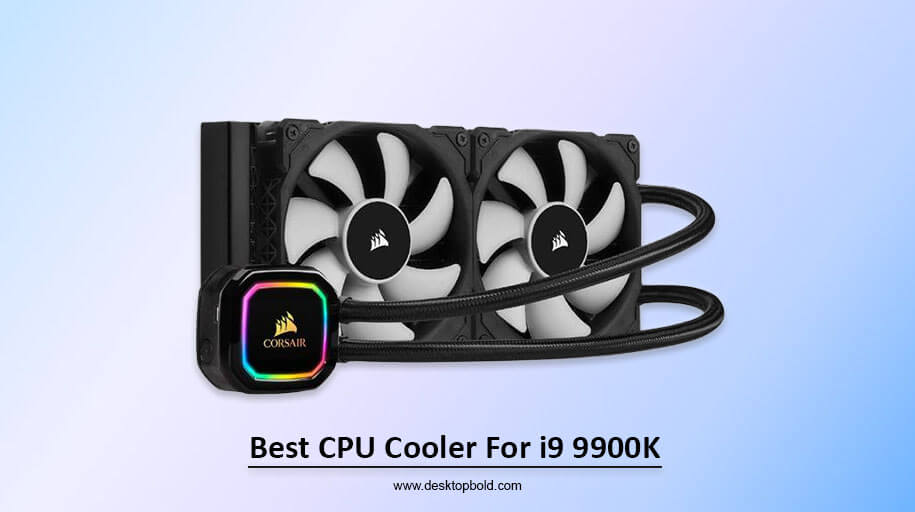
How to install a Liquid or Water Cooler?

Install the air coolers is more accessible than the liquid coolers. Liquid cooler installation is complicated or challenging compared to the others. In this article, we will show you the guide about AIO cooler installation. Let me explain the AIO cooler in case you need to know. AIO coolers are the best cooling system for overclocking CPUs. AIO coolers come with a radiator, coolant pipes, and fans. Alternatively, you can install a custom-loop or open-loop cooling system.
Follow the following steps to install the liquid cooler;
- The first step is the same as the air cooler installation procedure. Bring the righteous back plate for the liquid cooler and then fix it to the rear plate of the CPU.
- The next step is to install the radiator. But before installing the radiator, ensure it has a fan in it. You can either install fans separately or mount them on the radiator itself. All this depends on the space you are provided in the CPU case.
- You can fix the AIO cooler on the CPU case by using the long screws with the cooler. Ensure that coolant pipes are not in contact with the other components of the CPU and the tube is moving freely.
The installation process is the same for all liquid cooler models.
Conclusion:
In this blog post, I have shared all the details about installing a CPU cooler. CPU coolers are effective for CPUs as they make them cool during overclocking and prevent any damage to the computer. I hope you find this blog helpful.