CPU coolers are for reducing the temperature inside it. It aids in the cooling of the CPU. Overheating can cause severe damage to the performance and working of the CPU. Due to overheating, your work will also be disturbed and delayed, which you don’t want. So, to avoid this, CPU manufacturers have installed built-in coolers to keep the CPU temperature low and for excellent CPU performance.
Suppose you find any disturbance in your CPU cooler, whether it stopped working or is working slowly. This results in damage to the CPU. So, it’s better to replace the broken or worn-out cooler before it crashes your CPU completely, which results in data loss. The replacement should be done frequently if your CPU is not working correctly, and if you ignore it, your CPU can be subjected to danger. Like any other machine, coolers do have a life span. After that, they start creating problems in working.
It is essential to replace the defective fan for the long life of the CPU. Replacement is not a high-tech procedure; it’s a simple process that needs care. It could be difficult for someone who has not done it before. Don’t worry. In this blog, you will find the procedure for removing a CPU cooler. You have to follow the instructions carefully.
Precautions Before Replacing a CPU Cooler:

You do it at your own risk when removing the CPU cooler without help and not by a licensed shop. When you are handling hardware components of the CPU, you should do it with great caution.
I have enlisted some common mistakes made while attempting CPU cooler replacement here. So, keep them in mind while changing the cooler, and don’t skip any of them, as these steps can reduce the risk of damage.
- Avoid working on the surface with carpet. If you do so, it may destroy the electronic component due to static electricity.
- Avoid static electricity on your hands. While working, it doesn’t touch any metal surface, such as a CPU case, as it can generate built-up static electricity.
- Use anti-static wrist wrap. It is highly recommended to use wrist wrap when you are touching fragile components like the motherboard.
- Don’t use any power tools. Use essential tools such as a screwdriver to feel the pressure you are applying. The powerful tool can cause damage to the hardware due to static electricity.
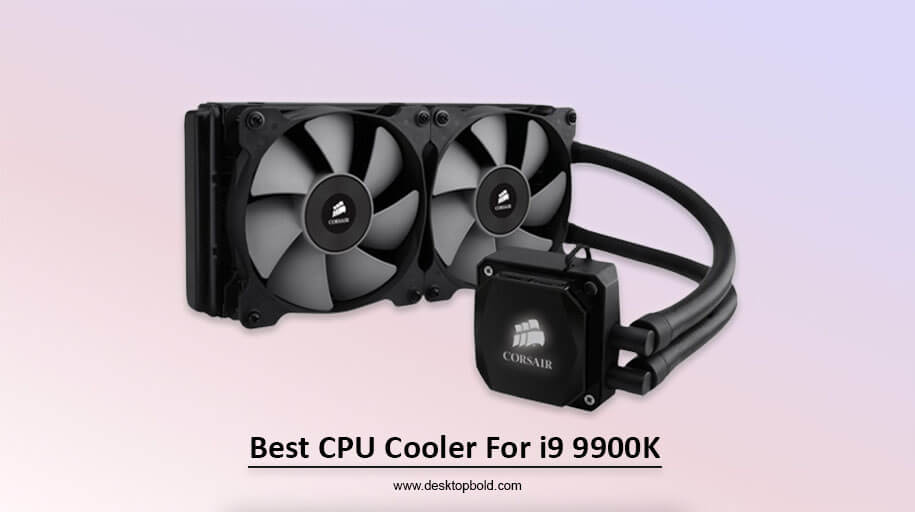
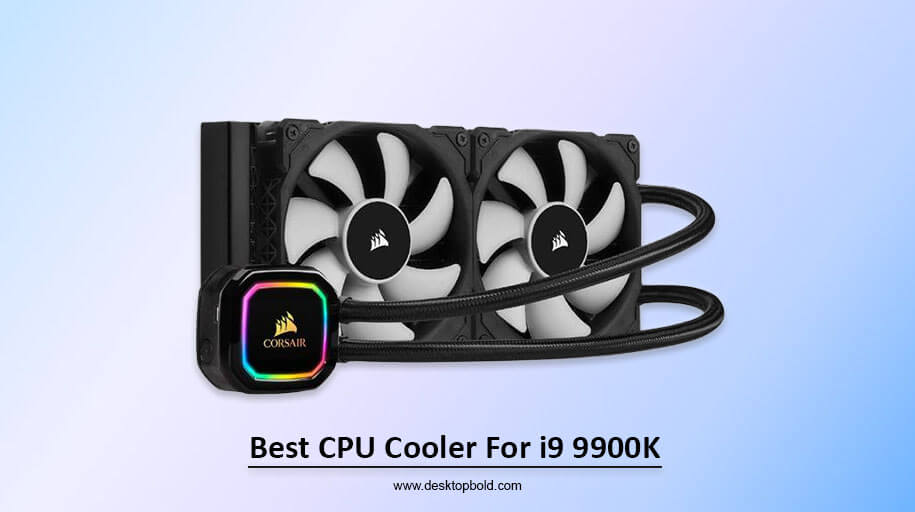
- It would be best if you were cautious while removing the liquid cooler. A slight mistake can cause damage to potential water.
- Avoid overtight the screws. Clamps and screws should be fixed and tight but don’t overtight as it can cause damage.
How to Remove the Stock Cooler?

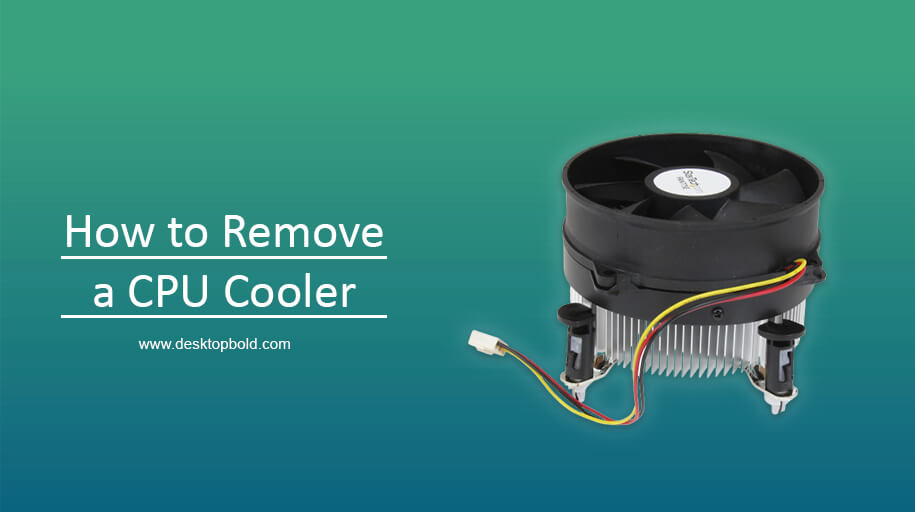
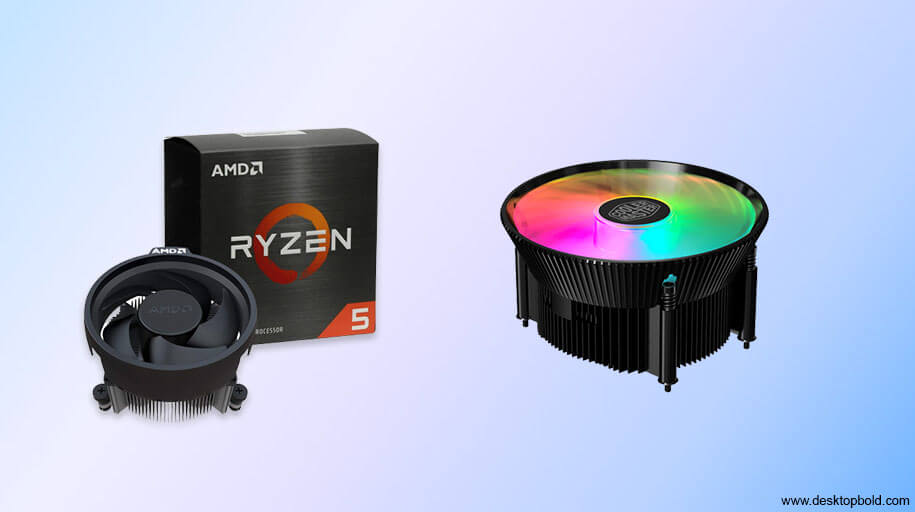
Two types of coolers are found in the built-in CPU, one and the other custom third-party coolers. Stock coolers installed in Intel and Ryzen use screws to fix the cooler tight to the CPU. If you find that four bolts hold your cooler with the CPU, then to remove it, you have to follow the steps below:
- Run your CPU for at least 10 minutes. It will heat or warm the thermal paste and won’t stick.
- Turn off your computer, and unplug the CPU from every single cable. Note that never try to open the CPU when it is connected to the power.
- Unplug the cooler from the motherboard. Disconnect the RGB wires if any are present from the cooler.
- Now, start to unscrew the cooler bolts diagonally. Unscrew them gently with a light hand. Don’t try to do it forcedly if you are resistant. Continue to loosen the screw until it is separated from the motherboard.
- Keep the cooler aside with minimum force by twisting it until it is loosened, and the link between the CPU socket and the heat sink is removed.
- Now, lift the CPU cooler gently with great care; don’t twist or pull the CPU while removing the cooler from the CPU.
How to Reinstall the CPU Cooler?
Once the CPU cooler is removed, it should be reinstalled. To do so, follow the steps below:
- Firstly, ensure that your CPU is cut off from power. It should be disconnected from all of the power cables.
- Before reinstalling a cooler, ensure that the new layer of thermal paste is applied evenly.
- On top of the CPU, put the CPU cooler gently.
- Check if the cooler and the fan are pointed in the proper direction.
- Now place the bolts in their places and tighten them diagonally so that no side will receive much pressure simultaneously.
- If there is a lever, place it back firmly.
- In the end, reconnect the cables of the cooler with their ports in the motherboard.
If you feel like the cooler is not fixed or screwed correctly, repeat the process.
How to apply Thermal Paste when the CPU Cooler is Removed?

When the thermal paste is dried out, it needs to be reapplied because if not, it can interrupt the CPU’s running. To reapply the thermal pastes, follow these steps:
- Run the CPU for about 10 minutes to heat the thermal paste.
- After 10 minutes, cut off the power supply and remove all cables.
- Now remove the cooler.
- Take a small piece of cloth dipped in an alcohol solution.
- Rub the thermal paste using the alcohol-dipped cloth in a circular motion.
- After removing the paste, take a new thermal paste container and make an X of thermal paste from one end to the other on the CPU cooler cover.
- Place the cooler back in place.
- Fix all the screws back.
When to Change the CPU Cooler?
There is no particular time for removing the CPU cooler. If you have been using a computer for about five years, you must change the cooling fan every few years. If you use the computer for high gaming purposes, the thermal paste gets heated up immediately, so it needs to be changed more frequently.
Conclusion:
This blog post highlighted almost everything I needed about removing a CPU Cooler. I hope you will find it worthwhile. But before ending, I would like to highlight some precautions that are:
- Ensure your safety first while handling the CPU’s hardware.
- Never place the cooler before applying the thermal paste.
- Always ensure that all the screws are fixed firmly.


