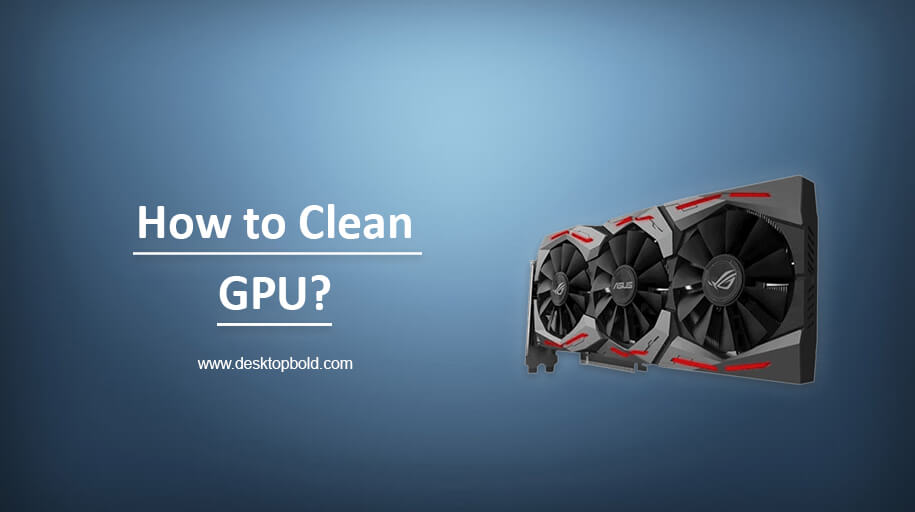
Keeping your GPU clean is crucial for maintaining the performance and longevity of your computer. Dust and debris can accumulate over time, causing overheating and other issues leading to damage or failure. This article will discuss how to clean a GPU, the importance of cleaning your GPU, the tools and materials you will need, and step-by-step instructions for disassembling, cleaning, and reassembling your GPU.
We will also provide tips for maintaining a clean GPU and preventing future build-up of dust and debris. Whether you are a seasoned computer builder or new to the process, this guide will help keep your GPU in top working condition.
Tools Needed:
If you’re looking to clean your GPU, you’ll need to gather a few tools and materials before you start. Here’s a list of everything you’ll need to clean your GPU properly:
Materials:
- Compressed air can
- Lint-free cloth or microfiber towel
- Isopropyl alcohol (91% or higher)
- Distilled water
Tools:
- A small brush (such as a toothbrush or paintbrush)
- Tweezers
- Screwdriver (if necessary to open the GPU)
With these materials and tools, you’ll be able to properly clean your GPU and keep it running at optimal performance. Always be gentle when cleaning your GPU, and avoid using any liquids directly on the electronic components. If you’re unsure about how to clean your GPU properly, it’s always best to consult the manufacturer’s instructions or a professional before proceeding.
Disassembling the GPU:
Disassembling your GPU is an important step in properly cleaning it, as it allows you to access all the nooks and crannies where dust and debris can accumulate. However, it’s important to take care when disassembling your GPU, as mishandling it can cause damage. Here are step-by-step instructions on how to safely disassemble your GPU:
Step 1: Unplug the GPU from your computer and remove any power cables.
Step 2: Remove any screws or clips holding the GPU in place. Keep track of which screws go where, so you can easily reassemble the GPU later.
Step 3: Carefully lift the GPU out of the computer. Be sure to hold it securely and avoid flexing or bending it.
Step 4: Take a look at the GPU, and locate any additional screws or clips that are holding it together. Remove these as well.
Step 5: Carefully lift the top of the GPU off, revealing the electronic components inside.
Once you’ve successfully disassembled your GPU, you’ll be able to clean it thoroughly and remove any dust or debris that has accumulated inside.
Cleaning the GPU:
As you know, over time, dust and other debris can accumulate on the GPU, particularly on the heatsink, which can impede the cooling of the device and lead to overheating. Now let’s discuss how to clean a GPU heatsink and other methods for keeping your GPU in top condition.
One of the most effective ways to clean a GPU heatsink is by using compressed air. Compressed air can be used to blow dust and debris out of the heatsink, as well as other areas of the GPU, such as the fan and the surrounding area. To use compressed air, simply hold the nozzle of the can about an inch away from the heatsink and blow the air in short bursts. Be sure to hold the can upright so that the compressed air does not come out as liquid. Repeat this process several times until the heatsink is free of dust and debris.
Another method for cleaning a GPU heatsink is by using a cleaning solution. This can be done by mixing a small amount of isopropyl alcohol with water and applying it to a soft cloth. Gently wipe the heatsink with the cloth, being careful not to damage any of the components. You should also avoid getting any liquid inside the GPU.
It is also important to clean the fans, as dust and debris can affect the blades and impede the cooling process. To clean the fans, you can use a small brush or a can of compressed air to blow the dust and debris off the blades.
After cleaning the GPU, it is vital to reattach any parts that were removed, such as the heatsink or fan, and reconnect any cables that were disconnected. Once everything is back in place, power on the device to ensure it is working properly.
One thing you should keep in mind is don’t open your GPU or any other electronic device if you are not comfortable with it or are not familiar with the process, as it can cause damage to the device or injury to yourself. If you are unsure about how to clean your GPU properly, it is best to consult the manufacturer’s instructions or contact a professional for help.
It is essential to be careful when cleaning the GPU and to reattach any parts that were removed and reconnect any cables that were disconnected after the cleaning process.
Reassembling the GPU:
Reassembling a GPU (graphics processing unit) after cleaning is an important step to ensure that the device is working properly and to prevent any damage from occurring. So in addition, this article is going to tell you how to reassemble GPU.
Before beginning the reassembly process, it is important to have all the necessary tools and parts on hand. This includes any screws or fasteners that were removed during the disassembly process, as well as any thermal paste or thermal pads that may need to be reapplied.
Step 1: The first step in reassembling a GPU is to reattach the heatsink. This can be done by aligning the heatsink with the GPU and securing it in place with the screws or fasteners that were removed during disassembly. It is important to ensure that the thermal paste or thermal pads are properly applied to ensure optimal cooling.
Step 2: Next, reattach any other components that were removed during the disassembly process, such as the fan or any additional heatsinks. Make sure that all of the components are securely fastened and properly aligned.
Step 3: After all the components are reattached, reconnect any cables or connectors that were disconnected during the disassembly process. This includes power cables, data cables, and any other connectors that may be present on the device.
Step 4: Finally, power on the device to ensure that it is working properly. If the device does not power on or there are any other issues, it may be necessary to check the connections and ensure that all components are properly reassembled.
Maintenance and Prevention:
Here are some tips for maintaining a clean GPU and preventing future build-up of dust and debris:
- Keep your computer in a clean and dust-free environment. This will help to minimize the amount of dust and debris that can accumulate on the GPU.
- Use compressed air to blow out dust and debris from the GPU and other components. This can be done by using a can of compressed air or by using a vacuum cleaner with a brush attachment.
- Use a soft brush to gently remove any debris that may be stuck to the GPU. A soft brush, such as a paintbrush, can be used to gently remove dust and debris without scratching the surface of the GPU.
- Keep the computer’s cooling system clean. The cooling system, including the fans and heat sinks, should be kept clean to ensure proper airflow and cooling.
- Use a thermal paste on the GPU to improve heat dissipation. Thermal paste is a specially formulated substance that helps to enhance the transfer of heat from the GPU to the heat sink.
- Keep your GPU up to date with the latest driver update. This will improve the performance and stability of the GPU and can also help to prevent overheating.
- Regularly monitoring the temperature of your GPU can help you to identify any potential issues before they become a problem.
- Use a GPU protector or cover to protect your GPU from dust and debris.
By following these tips, you can maintain a clean GPU and prevent future build-up of dust and debris. This will help to avoid costly repairs or replacements. Additionally, it is important to give your computer regular cleaning to keep it running smoothly and efficiently.
Moreover, I firmly believe that I have described every core of the fact that users are concerned about: how to clean GPU. A graphic card is simply as important as a heart for the human body. Without it, you cannot enjoy modern gaming, a high frame rate, and much more. That’s why cleaning a GPU is crucial. I hope you will also love reading this if you are concerned about your GPU cleaning. Let’s come to the final words of this article.
Conclusion:
In conclusion, cleaning your GPU is essential in keeping your computer running at optimal performance. Dust and debris can cause overheating and damage internal components, leading to costly repairs or replacements. By following the steps outlined in this article, you can efficiently and effectively clean your GPU and ensure its longevity.
Remember to always turn off and unplug your computer before cleaning the GPU, use compressed air to blow out dust and debris, and gently wipe away any remaining dust with a soft brush or cloth. By regularly cleaning your GPU, you can prevent costly repairs and ensure that your computer runs smoothly for years to come.


