
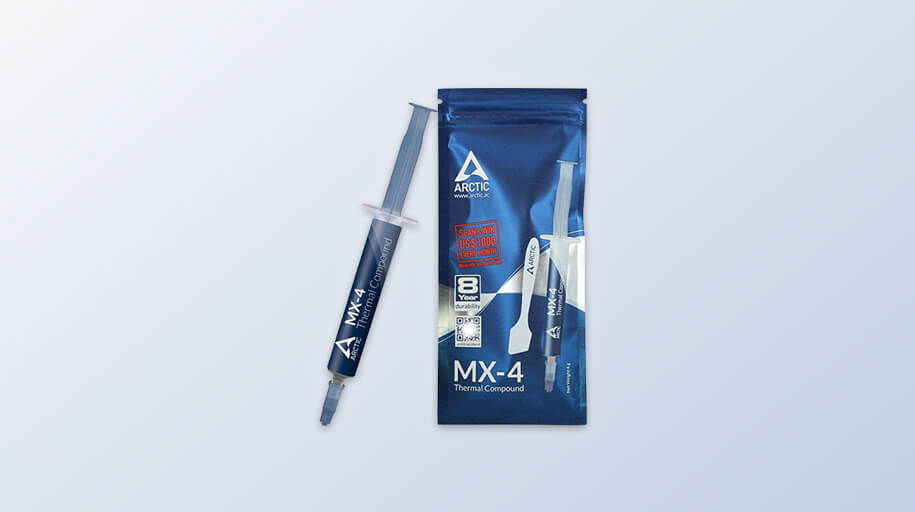
A thermally conductive compound usually used as an interface between a heat sink and a chip is a thermal paste. Its main aim is to remove air gaps that behave as thermal insulators by maximizing heat transfer and dissipation. You have thermal Paste on your central processing unit and, of course, on your graphic card’s die. So, it would be best if you replaced it occasionally, and it is not something that lasts forever.
Moreover, thermal Paste’s life period can change depending on its quality and the components used to manufacture it. Using a thermal paste that is more than five years old is not recommended. In this article, your confusion about how long thermal Paste lasts will be sorted out.
How long does Applied Thermal Paste last?
The main problem with any thermal paste is known as “pump out”, whether you bought a CPU and cooler with pre-applied thermal Paste or have a third-party CPU Cooler with premium Thermal Paste. The die or heat-spreader (GPU or CPU) and the Cooler’s sink possess different thermal expansion and contraction rates.
Different results in thermal Paste getting pumped out from between the die/heat-spreader and heat-sink, in the long run, over many heating/chilling cycles. It degrades the thermal performance.
Manufacturers recommend removing any thermal paste from your CPU heat-spreader and CPU CoolerCooler every two to three years to be safe. However, high-end compounds can maintain efficacy up to seven years after installation.
How Long Does Thermal Paste Last on CPU/GPU?
Depending upon the heat generation following the chip, the thermal Paste on either GPU or CPU generally lasts about 2 to 4 years.
Always check the GPU and CPU temperature before checking that your parts need a fresh thermal paste. The Paste may not work if your GPU or CPU has high-temperature readings.
Affecting a thermal paste’s life span, here are some things:
Extreme PC Usage
This results in CPU and GPU overheating if you have a PC that runs almost all day, whereas the Paste loses the Thermal Paste. Furthermore, rapidly decreasing a thermal paste’s lifetime, overclocking components, and running graphically challenging games will dissipate more heat than usual.
Thermal Paste Quality
Having a lower lifespan means that you have a low-quality paste. Changing the Paste more often than usual results in you. Hence, consider getting a thermal paste for the performance over price.
Surroundings
The efficiency of the Paste is lost by increasing the temperature. You may need to change the thermal Paste quite often if the location of the computer’s temperature is higher.
Dust Settlement
It may be because of the dust settling if your heat sink is not dissipating heat from the chip. Decreasing the thermal Paste’s lifetime will heat your chip more.
Does Thermal Paste Last Inside the Tube?
Thermal Paste lasts two to three years and is sealed in a tube. Depending on its storage, it can last for more years, too. To increase its shelf life, you must try to keep the thermal Paste in an air-tight, cool, dry place.
Depending on the composition and quality, it describes its longevity. A thermal paste five years old or more than that is not suggested for use.
When Should You Reapply Thermal Paste?
The time for reapplication of thermal Paste arrives when you observe that the temperature of the GPU or CPU is rising abnormally high or when the PC’s performance is not as efficient as it should be.
The other parts and the CPU can overheat because of the accumulation of dust on the heat-sink fan. Turning on the device after cleaning the dust, which has settled on the heat sink, is recommended. There is a need for fresh thermal paste coating if you still observe the overheating.
For any cause, after removing the heat sink, the thermal Paste will stop. You have to apply a thermal paste coating when you are done with cleaning the old thermal Paste off the chip if the removal of the heat sink from the processor takes place.
How to Reapply Thermal Paste?
Do you believe that the CPU is overheated because of the old thermal paste? So, relax here. You do not need to get worried. And alone, you do not have to do anything. The process given below will help you out in solving your issue.
In the past, you were worried about not reapplying the thermal Paste.
Following the steps below, you will safely remove and reapply the thermal Paste.
Here, you will need the following:
1. Remove the Heat Sink
Run the computer for fifteen minutes so your job will become easier. By doing this, the thermal Paste will become softened or, in another case, it will glue up with a chip along with the heat sink.
Now it’s time to switch off everything and turn off the computer. The heat sink’s screws or bolts will remove. By twisting backwards and forward, try gently to lose the heat sink. The pins of the CPU can be damaged severely, so try not to twitch or pull the heat sink in case of removing it.
When it becomes loose at once, the heat sink will soon come out somewhat.
2. Remove Previous Thermal Paste
To remove the residues on the previous thermal Paste, gently take a clean cloth and rub it. The loose parts will be removed by doing this.
Take a solution of isopropyl dip that cleaned cloth into it. The isopropyl possesses the property of cleaning more finely, so it will be better to have that; otherwise, the thermal paste cleaners are also available for cleaning.
When you observe no more residues of thermal Paste there, gently wipe out the chip from all sides. The chip parts can be damaged if precautions are not taken while doing this job.
The heat sink will clean, so remember it. Depending on the usage of the cleaner, you have to wait for about one hour.
3. Reapply the Thermal Paste
The time for reapplication of thermal Paste arrives. While reapplying, remember to use a thermal paste spreader.
At the centre of the processor, keep an amount of thermal Paste that should be pea-sized and directly place it. To apply the Paste evenly, you must take the thermal paste spreader.
The thermal Paste can be applied directly in case of not having a spreader. By pressing in the heat sink at the centre, mark an “X”. The product will be distributed evenly.
4. Insert the Heat-sink
Now, over the chip, cautiously place the heat sink. To ensure the Paste is spread evenly, set it as flat as possible. Back in place, screw the heat sink. Do not try to move it. Hold it for a few minutes.
Tips:
- The chances for the whole process to be terminated are more significant if the heat sinks move from their place or get slipped, which can bring air bubbles in. To start over is necessary if it occurs. Try it again by removing the old pasting.
- Apply the right amount of thermal Paste. It is essential.
- Over the motherboard, if too much thermal Paste is applied, it will leak out from the spilling sides. Causing the motherboard to overheat, the spilt Paste will become a thermal insulator. Unfortunately, you get the thermal Paste, which is a good conductor of electricity, and a short circuit is caused, which is worse.
- The air pockets will only get sealed if more thermal Paste is applied to cover the CPU. The causing CPU overheating will be hampered.
What Thermal Paste Types are there?
If you want to choose the type of thermal Paste, various brands are making good quality to provide you with the best one. The most common types are there, but in this article, you will not find the depth of the classes instead of their names of them:
- Ceramic-based Thermal Paste
- Carbon-based Thermal Paste
- Diamond Carbon-based Thermal Paste
- Silicon-based Thermal Paste
- Metal-based Thermal Paste
- Liquid-metal Based Thermal Paste
No worries if you did not go through the details of the types. In the following article, you will get them.
Conclusion
If you use the thermal Paste in the right way and in the right amount, it will function as a superb heat conductor. By two to three degrees, it can mark your CPU cool down.
It can last for about two to five years, depending on the usage, including the quality of the product and the temperature range outside. Avoid applying thermal Paste more, as it will do nothing but harm the system. If you want to go well, then I prefer to use a pea-sized amount with a thermal spreader and spread on it. Now, the query about how long thermal Paste lasts has been solved.