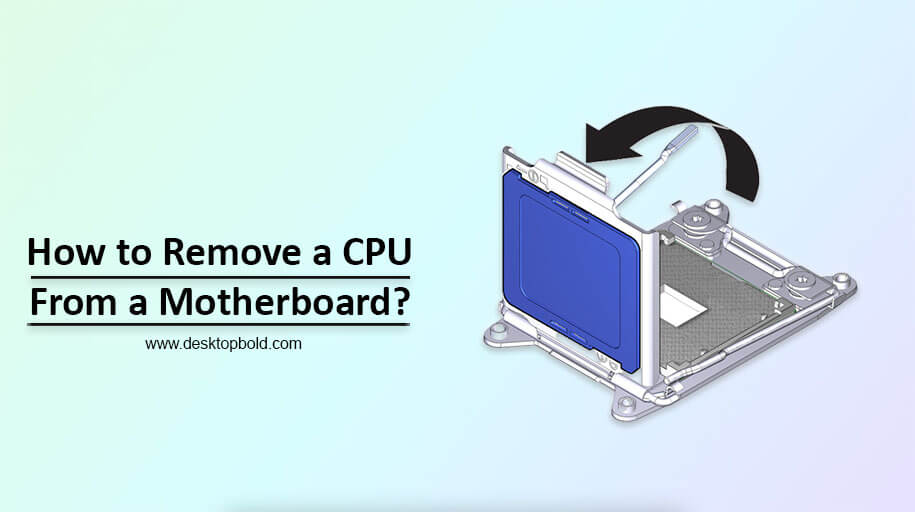
It is standard procedure to remove the central processing unit (CPU) from the motherboard before attempting any further troubleshooting steps. Handling the CPU and motherboard with care throughout this procedure is essential. You’ll need a flat-bladed screwdriver to remove the CPU from the motherboard. Take apart your central processing unit by unscrewing any screws it may have. If it stands on legs, you may pry it apart from the motherboard by turning the legs so that the flat side is facing away from the board. After removing the central processing unit, you can access and clean other components, including the fan, heat sink, and hard drive.
So, in this article, I will discuss how to remove a CPU from a motherboard that will help you when you want to upgrade your CPU or replace it with a new one.
How to Take out CPU from the Motherboard; Step-by-Step Guide?
Turn off the computer
Never touch a computer while powered on since doing so might result in serious harm. Individuals need to turn it off first before attempting repairs. Before making any adjustments or repairs to your computer, you should always disconnect the power cable from the PSU.
Wait at least two hours for the computer to cool down
Ensure the computer has been shut off for at least two hours before attempting to remove the CPU (the “brain” of your computer). The CPU may get quite hot, thus allowing plenty of time to cool down. Remember to turn off the computer and disconnect the power wire from the outlet.
Disconnect any extra devices.
Once you’ve left your computer for at least two hours to cool down, you should disconnect any attached devices. Any peripherals and accessories attached to your computer, such as the power cable (if it’s still plugged in), the mouse, the keyboard, and the screen. The computer tower must be opened on a well-lit surface when everything has been unplugged.
Remove the dirt from the inside.
Open the computer base and thoroughly clean the interior now that you have a secure working environment. While removing the central processing unit (CPU), as much dust as possible must be removed first. It’s essential to thoroughly clean your computer before you start using it since dust may settle anywhere within. Otherwise, it might be uncomfortable to operate on an unclean PC.
Check whether the motherboard needs to be removed.
It is recommended practice to take the motherboard out of the computer casing as well as the CPU when removing it. Leave it there if you have enough room to work and are comfortable with the placement. While some technicians prefer to keep the motherboard in place while they work, taking it out is preferable if you’re limited on desk space.
Before unscrewing the motherboard from the casing, ensure you know how to reconnect all the wires. Before beginning, it is recommended that you photograph all wire connections using your phone. To prevent the motherboard’s components from being harmed by static electricity, you should ground yourself before contacting the motherboard. If you don’t have a grounding wristband, you may use your left hand to drop yourself by touching the metal chassis or power brick. If you want to reduce static electricity, you should avoid wearing woollen clothes and working with your barefoot. The motherboard should be placed on a hardwood or plastic table after removing it from the casing.
Disconnect the CPU cooler.
Taking the CPU cooler off the CPU is a good idea before taking the motherboard out. Ensure the screws holding it down are removed if you haven’t already done so. If the cooler didn’t move when you slid it back and forth, gently pull it off the motherboard. Don’t pull too hard since doing so might break the CPU and the socket it was in. The motherboard will be ruined if a pin doesn’t come out of the socket.
You should clean the thermal paste from the base of the CPU cooler if you want to reuse the old cooler with the old CPU. If you’re having trouble prying it off with your fingers, you may use a knife, but you’ll want to be cautious not to injure the base. Be careful to thoroughly clean it since even a single metal particle might create issues when you connect it to a system later on.
Remove the dust from the processor.
When removing the central processing unit cooler, the CPU becomes visible. The processor’s thermal paste should be cleaned regularly. It’s still tied to the ground, so you may safely touch it. A knife or a credit card will do the work for scraping off the thermal paste. Try blowing it with a hair dryer to soften the adhesive and ease removal.
Remove the processor
You may remove the CPU from its socket by lifting the Zero Insertion Force (ZIF) lever after cleaning it. The CPU should be able to be removed without much effort. Nonetheless, a little amount of pressure may help if it remains very tough. The pins connecting the CPU to the motherboard are fragile; damaging even one might make the old processor useless. Because of this, you should be very careful while extracting the CPU from its socket.
Lift the processor carefully and set it down on a nonconductive surface after you have done so. You may store the old CPU securely in the antistatic bag until you can swap it out for a new one.
Conclusion
The central processing unit (CPU) may be removed from the motherboard in a short time with the use of just a few simple tools. A flat screwdriver and a few other ordinary household objects are all you need to remove a CPU from the motherboard. You should know how to remove the CPU from a motherboard while upgrading it or replacing it with a new one. I hope you will like it.