Connecting the power button to the motherboard is an easy process. You can check your motherboard manual for this purpose. The first and most important step is to locate the pair of pins, also known as aka terminals, on the motherboards that are to be connected to the power switch. These pins are usually found on the ‘front panel header’ block with the power on/off buttons, power LED, headphones, speakers etc. do you find it too complicated, Don’t worry. This article will help you to know how to connect power button to motherboards in an easy way.
Getting A Head Start On JARGON
The following are two important terms to understand before continuing with this article.
Electrical pins: An average motherboard contains several pins that may perform various functions. Plugs for things like USB ports, motherboard fans, and so forth could be among them. We need access to the Power Switch, also known as the SW PW, pins.
Header: A header is a kind of motherboard connection with several male pins. Many header pins often have secondary functions. The Front Panel Header is where you’ll find the Power Switch pins.
How To Connect Power Button To Motherboard: Complete Guide
A few steps that need to follow to connect power button to motherboard are as follows:
1. Find the Front Panel Header
To turn on your computer, you need to press a power switch. The power switch is usually located on the front of your computer case. You need to connect the power switch to the correct pins on the motherboard, generally labelled “Front Panel Header” or “F Panel”. You can find the location of the front panel header by looking at the motherboard manual or searching for a pair of pins on the motherboard. Make sure to connect the power switch to the correct pins and not to the power supply pins.
2. Find the correct pin for connecting the power supply
Once you find the Front Panel Header, you must identify which pins are for the power switch. This can be tricky as the header has multiple pairs of pins for different purposes. However, you can refer to the motherboard diagram or manual to locate the pins for the power switch. Typically, they are labelled as SW_PW or POWER SW.
It’s important to note that if you accidentally connect the power switch cable to the wrong pins, it won’t cause severe damage to the motherboard. It just won’t work correctly. Once you have identified the correct pins, connect the jumper cable from the power switch to the pins. The jumper cable usually comes with the computer case, not the motherboard. Different cases have different sizes and mounting locations for the motherboard, so using the correct jumper cable provided with your case is essential.
Connecting the jumper cable to the correct pins lets you use the power switch to turn on your computer.
3. Connect the Jumper to The Pins
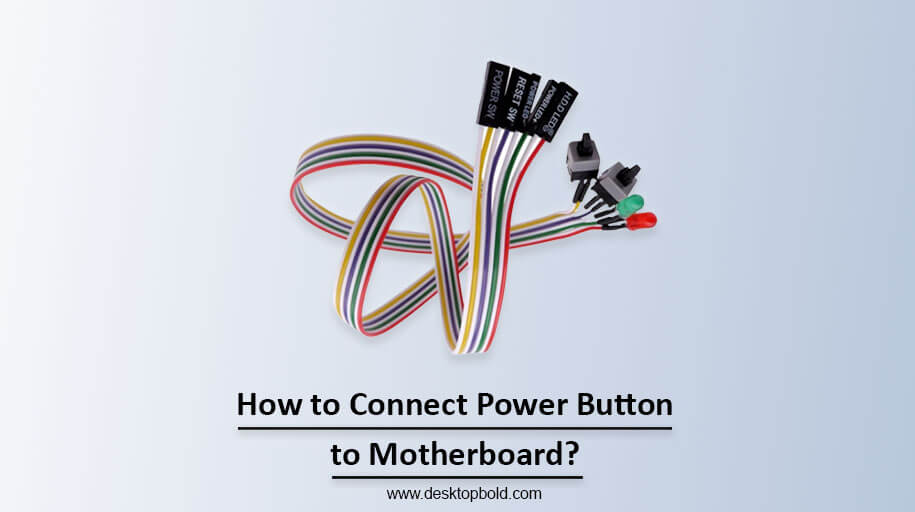
Lastly, connect the Front Panel Header’s Power Switch terminals with the jumper. The PC Power Switch jumper wire, like the other several jumpers on the front panel, is included with the case.
Does Polarity Matters Here?
The labels on the motherboard say +PW-, which tells you which pin is positive and which is harmful to specific components. However, you can connect the jumper on either pin when connecting a switch because the polarity doesn’t matter.
On the other hand, when connecting LED lights for Hard Disk and Power, it’s essential to connect the negative jumper to the negative pin and the positive jumper to the positive pin, as polarity does matter in this case.
What If Jumper Wire Is Damaged?
Don’t worry if your Jumper wire is damaged or broken; I have a solution for this too. Here’s the solution:
If your jumper cable is damaged and cannot be replaced, standalone power switch cables can be bought separately. One end connects to the Front Header Panel, and the other can be wired out of your case with a push-button to turn on your computer. These cables are helpful when testing the motherboard outside of the case or before connecting the case power button.
To jumpstart your motherboard without standalone cables, use a small flathead screwdriver. Touch the screwdriver to the power pins in the Front Header Panel, ensuring you do not touch any other pins. Use the most miniature screwdriver possible.
If the power button does not work after assembly, check that the jumper switch is installed correctly in the correct terminal before checking other options. If you can jumpstart your computer using a screwdriver, but the cable is not working, the issue is likely with the line. If you cannot jumpstart with a screwdriver, consider buying a new motherboard with the power button terminal intact.
PC Doesn’t Turn On After Connecting The Jumper Cable
As this article is about how to connect the start button to the motherboard, I think you must know some possible outcomes. If you want to know more, read this guide:
Connecting a jumper cable to a PC can sometimes result in the PC not turning on. This can be frustrating and may leave you wondering what went wrong. If you are experiencing this issue, there are a few things you can check to identify the problem.
Firstly, check that the 24-pin ATX connector is correctly connected to the motherboard. This connector is responsible for supplying power to the motherboard, so the PC will not turn on if it is not connected correctly. Next, check that the 8-pin connector is correctly and tightly connected to your motherboard from the PSU.
Another thing to check is the power switch jumper. This is a small connector that connects the power switch on the case to the motherboard. Ensure that the jumper is not damaged. Lastly, check the power switch pin on the FHP. This is the connector on the motherboard that the power switch jumper connects to. Ensure that it is correctly connected.
By checking this, you should be able to identify and resolve any issues preventing your PC from turning on after connecting the jumper cable.
How To Turn On The motherboard Without A Power Button
If you find these steps enlisted above for the guide on how to connect power button cable to motherboard tricky, then don’t worry. I will tell you how to connect power button cable to motherboard. Let’s find it out here:
If you need to turn on your computer without the power button, it is possible to do so with some technical knowledge. The first step is to locate the power switch section on your motherboard. Some motherboards may have stickers that point to the location of the pins, making them easier to find. The power switch section contains several pins for the power button, power LED, reset button, and Hard Disk LED. To power up your computer without pressing the power button, you need to connect two specific pins in the power switch section. This signals the motherboard to power on the computer.
You can find the two pins for the power button on your motherboard’s F Panel. Once you have located them, you can use a test pin or a metal surface, such as a screwdriver, to touch the two pins and power on your computer without pressing any button. It is essential to be careful when doing this to avoid damaging the motherboard or other components.
Conclusion
I think now you have a good understanding of how to connect power button to the motherboard, with all the material I have provided. Connecting the power button to the motherboard is revealed to be a simple process. You can do this in under 30 minutes if you follow my advice and utilize the information in the user manual that came with your motherboard. Last but not least, do not even overdo things and make sure you finish each stage of the process. I really hope this post was a good resource for you.
Frequently Asked Questions
How Can I Turn On My Motherboard Without the Power Button?
A jump start may be performed on your motherboard by connecting the two power pins on the front header panel together. A little, precise screwdriver is all that’s needed for this.
Is There a Power Button On a Motherboard?
For the most part, motherboards do not have a power switch. Instead, they only have pins for the Power Switch, which we just covered. Some high-end motherboards, however, have a separate power button.
Can I Turn off the Motherboard Without the Power Button?
It is possible to power down the motherboard without using the button. The procedure for this is the opposite of powering the motherboard.