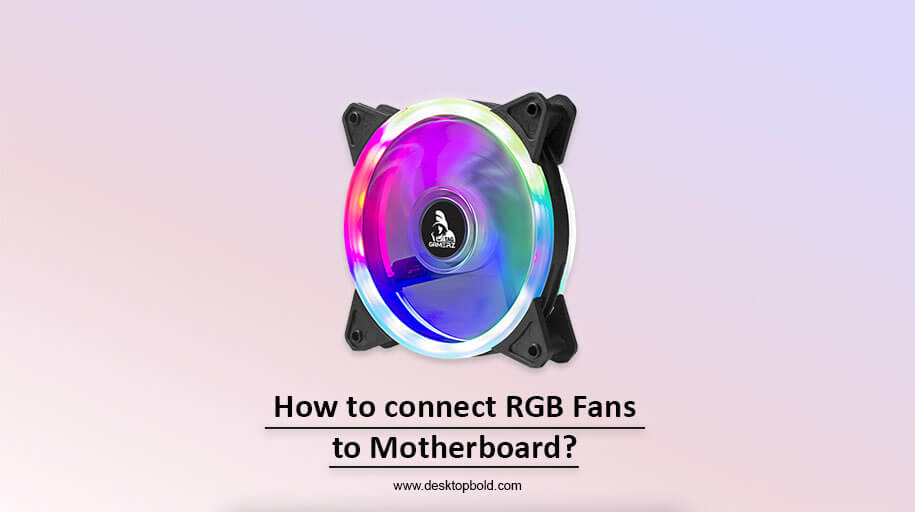
Installing RGB fans is an excellent method if you want your gaming setup to stand out from the crowd. Connecting them, however, may be tricky without clear instructions, what with the necessity for color cohesion among the RGB fans and all. It might make your setup appear untidy and unappealing if not done correctly. As a result, this article will instruct you on how to connect RGB fans to motherboard.
Keep reading to find out the answer.
Does My Motherboard Support RGB Fans?
The fan you buy will determine whether or not your RGB fan will function without a motherboard with an RGB header. The fan will still run. However, the RGB lights may only work if your motherboard has an RGB connector. Although most RGB fans need a dedicated connector on your motherboard to power the LED band, other models come with a controller that connects to the power supply’s Molex connection.
So, How do we connect RGB Fans to Motherboard?
You may wire different kinds of RGB fans in different ways. Let’s check this;
Static RGB Fans
Fans with a static RGB lighting system can only show off a single colour. The wire ends of these fans do not fit on any headers on the motherboard; thus, connecting them may be challenging.
Use an RGB hub, bus, or controller to connect a stationary RGB fan to your computer. Using this controller, you can run a group of fans off a single power supply and have each show off a different colour. A USB micro-splitter and a power supply cable (Molex or SATA) require the controller’s additions. You should get all these accessories for free when you purchase the RGB fan.
Connect RGB to the Controller
Then, plug in every one of your Static RGB fans to its controller. Slots 1, 2, and 3 on the controller should be numbered accordingly. You may plug the RGB fans into these slots. The best results will be achieved if these spaces are completed in ascending sequences of numbers.
Connect the Controller to the Power Source
After the RGB fans have been linked to the controller, the controller must be plugged into a power source. The power connection may connect the Power Supply Unit (PSU) to the controller. The same link, a 4-pin Molex cable or a SATA cable, will power the fans and the LED lights.
Connect the Controller to the Motherboard
To finish the installation, plug the USB micro-splitter into the motherboard and connect the RGB fans controller.
Connect the USB 2.0 header on the motherboard to one end of the USB micro-splitter and the micro-USB port on the controller to the other.
Insert the USB micro-splitter into the USB 2.0 header, so the pins align correctly.
Check that the fans are turning and the lights are coming on after everything is plugged in and turned on.
Addressable RGB Fans
With ARGB fans, you can change the colour of each LED, giving you more options than you’d get with a static RGB fan. ARGB fans don’t need a separate controller as static RGB fans do.
The ARGB fans come with two cords. The first cable is the 3- or 4-pin system fan power connection. The second cord contains a 3-wire, 4-pin LED power connection.
ARGB LED power connections are available with three pins, enabling you to daisy-chain several ARGB fans together.
If you’re using ARGB fans, you’ll want to ensure the LED power cable connection is plugged into a 3-pin 5V RGB header on the motherboard rather than a 4-pin 12V RGB header. The LED lights will not turn on if the power wire is connected to a 4-pin 12V header.
Connect RGB to 3-Pin 5V Header.
Finding the 3-pin 5V header on the motherboard is the first step in connecting the ARGB fan. It’s possible to find +5V printed under one of the pins of the title, which may be labelled as ADD HEADER, JRAINBOW1, or JRAINBOW2. Carefully plug the +5V pin into the LED power connection, indicated by the arrow symbol. After that, plug the fan’s power cord into the motherboard’s System Fan header.
The male and female ends of the power cable may be used to daisy-chain numerous ARGB fans together, much as how you could connect multiple LED lights to a single 3-pin 5V header. The power cord for the fan must be connected to one or more of the System Fan headers (SYS FAN1, SYS FAN2, or SYS FAN3).
After plugging everything in, you may power up the computer. After everything is wired correctly, your computer setup will glow in the RGB colour space. The lighting settings may be adjusted using a switch or RGB controller program.
LED Fans
LED fans are another form of ventilation characterized by their single-colour lighting and absence of software-based control. Unlike RGB fans, these may be used without an RGB header on the motherboard.
LED fans may be powered using a 3-pin DC fan connection, 4-pin PWM, or a Molex connector. As that LED fans only need a single reference to power both the fan and the LED, they may be installed in a case just like any other fan. Instructions for connecting LED fans to the mainboard are provided below.
Locate System Fan Header
Power for the case fans comes from the System Fan Headers on the motherboard. SYS FAN1, SYS FAN2, and so on should be labelled on the motherboard. SYS FAN is printed on the headers; each title has four pins.
Connect LED to System Fan Header
You should attach the LED wire to the System Fan Header on the motherboard. It may be necessary to rotate the connection or readjust the plastic nudge to enter the cable correctly. Before connecting the link to the header, ensure everything is working.
Check that the fan and LED light come on when you power up the computer after connecting everything.
How to Connect Multiple RGB Fans to Motherboard?
Digital RGB or ARGB fans often have two cables, one to provide power to the fan itself and another to give power to the lighting effects that must be connected to the motherboard. The male and female 3-pin connectors on the ends of the RGB cable are ideal for connecting various devices.
Attach the 3-pin female end of the RGB cable to the motherboard so you can connect numerous ARGB fans. The male end of the RGB cable is plugged into one fan, while the female end is plugged into another ARGB fan. Several ARGB fans may be connected in a daisy chain in this way.
Connect RGB Fans to a Non-RGB Motherboard
Even if your motherboard doesn’t support RGB lighting, you can still use your RGB fan with the included controller. Connecting an ARGB fan to a motherboard that does not support that standard might be challenging.
This is because a 3-pin 5V header is required to power an ARGB fan, but most motherboards do not provide this header. Since the title is not included on non-RGB motherboards, attaching an ARGB fan to such boards is difficult.
Conclusion
I ended up here with a complete guide on How to connect RGB Fans to Motherboard. There is no need for a separate 4-pin header if you’re using a 3-pin RGB fan. Just click the RGB fan connection to the motherboard’s RGB header and install the fan as you would any other.
However, not all motherboards support RGB fans, and some RGB fans need dedicated controllers to work correctly. Furthermore, check to see whether your motherboard supports RGB fans. The fan will function even if your motherboard doesn’t have an RGB header. However, the RGB lighting effects may not be visible. I hope you will like it.