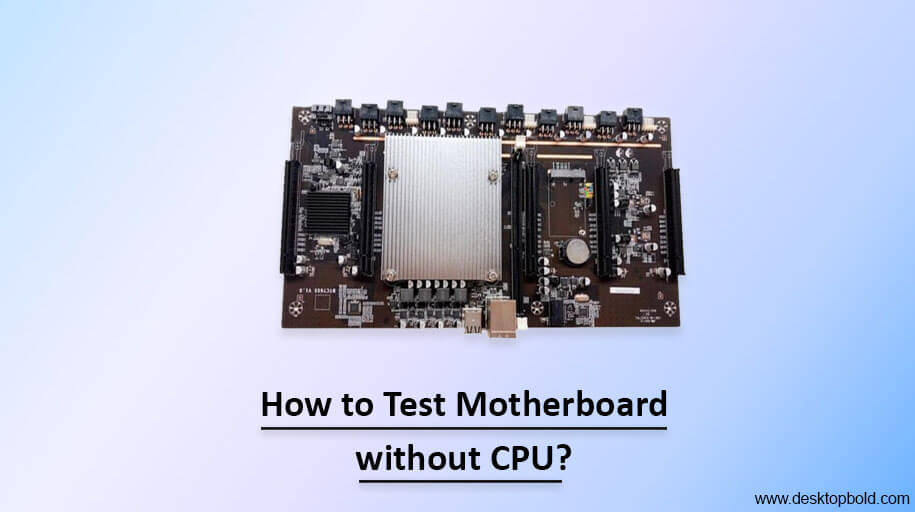
Most gamers ask this most common question: Can I test my motherboard without a CPU? The answer is: YES! It is possible to test a motherboard without a CPU. It means that you can verify whether a new motherboard is functioning correctly or check the status of an old one without needing to install a CPU.
If you are unfamiliar with how to do this, don’t worry, as this article will provide you with all the necessary information regarding how to test a motherboard without a CPU and step-by-step instructions, from unboxing your motherboard to understanding any warning beeps.
Why And Should You Test Your Motherboard Without CPU?
Before coming to the main topic: How to test a motherboard without a processor, it is vital to know why and should you stretch your motherboard without a CPU. So, let’s read this article to get a thorough understanding.
Checking your motherboard’s functionality without the central processing unit is quite fine. Just remember that your computer will FAIL the POST. There is no integrated graphics processor on the motherboard, so that nothing will appear on the screen. Without the central processing unit, a PCIe slot’s specialized graphics processing unit (GPU) would not function. Only if your motherboard is equipped with a beep code speaker and LED flashes will you hear any beeping.
Testing if the Motherboard is Dead or Alive
Finding out whether the motherboard is still alive is a common need. Let’s say you’ve just bought a new motherboard and are assembling a computer. Once you’ve built your computer, it might be challenging to determine the reason for a DOA (dead on arrival) if there was a flaw in the component. Many builders and gamers of desktop computers thus want to put their new motherboards through their paces BEFORE installing the processor. The pre-construction bench test describes this kind of evaluation.
Motherboards are a computer’s most delicate part, which may create problems. They are easily broken, primarily because of rough treatment during transport. A non-functional motherboard may also be sent due to a manufacturing fault. If your computer stopped functioning, this test could be in order. If you’re worried about the health of your motherboard, this test might help you determine its state.
How To Test Motherboard Without CPU; Step by Step
Step 1: Safely Place Your Motherboard
You must ensure that your motherboard is securely installed before we begin testing. You don’t have to worry about it as much if it’s enclosed in a case. On the other hand, if you have just purchased a brand-new motherboard and want to test it outside of the case, you will need to find a suitable location.
Start by removing the motherboard and any protective foam or other soft material from its packaging. Now, transfer your motherboard to that surface. You may also use the motherboard’s packaging, anti-static foam, or a flat piece of cardboard.
The only precaution you need to take is to keep the motherboard away from any metal or conductive surface. There are several solder spots on the underside of your motherboard, and they must not come into contact with anything metallic or conductive while the computer is powered on. Your motherboard might be permanently damaged without this precaution.
Step 2: Plug In The Power Connectors
After installing the motherboard, the next crucial step is to connect the power cables. These cables usually consist of an 8-pin connector for the CPU and a large 24-pin connector for the motherboard, both of which are typically found on the power supply unit (PSU). Although there may be a 4-pin connection, it is only necessary for older CPUs so that you can ignore it without any worries.
Handling the delicate electrical components, including the motherboard, with care to prevent any damage is essential. When connecting the 24-pin and 8-pin connectors, take your time and be cautious to avoid mishaps.
Step 3: Power Up The PSU
To power on your computer after connecting the PSU to your motherboard, you’ll need to plug the PSU into an electrical outlet. It’s crucial to avoid setting up the power supply unit (PSU) on any conductive surface, just like the motherboard. You may safely place your PSU on anti-static foam or a cardboard box.
When handling electronics, it’s essential to stay grounded and wear non-conductive gloves and shoes to prevent electrical shocks.
Step 4: Turn On The Motherboard
To check if your motherboard is functioning correctly, your first step is to locate the Power Switch Pins. These can usually be found on the motherboard’s Front Panel Header. If you need help locating them, consult your motherboard’s manual.
Next, attach the Power Switch wire from your computer case to these pins. The wire should look like the one in the foreground of the picture. Once connected, press the power button on your topic to turn on the motherboard. If you’ve placed your motherboard on a cardboard box instead of in a case, you can still power it by physically connecting it to the case’s Power Switch wire. However, be cautious of potential problems. To jump-start, the motherboard, use a small flat-head screwdriver to touch the two Power Switch Pins.
Remember to keep your fingers away from the other pins, as this could cause a short circuit. Using this method, you won’t need a case to power up your motherboard.
Step 5: Check If Motherboard Is Working Or Not
When you turn on your motherboard, you should hear beeps or see LED lights if everything is working correctly. These indicate the motherboard’s functionality.
If there is a problem with the memory or CPU, you can figure it out based on the beeps’ sequence, length, and frequency. However, errors can occur if you still need to connect something. You can ignore these for now and fix them later. But what if your motherboard has no built-in beep speaker or LED lights? It’s unlikely, but there is a solution.
What To Expect? After testing
However, in this article: how to check the motherboard without CPU? Where I have provided a complete step-by-step guide, you should also know the expected results after testing. Here is the detailed answer.
If you test a motherboard without a CPU, the most apparent outcome is that the screen will remain black. However, the motherboard may exhibit other indicators, such as flashing lights, beeping sounds, or both. These blinking lights and chirping noises represent error codes that can help identify the source of the problem.
Beeping sound code:
If your computer’s motherboard has a speaker, it will make beeping sounds to show if there is a problem. The number of beeps it makes can tell you where the problem is. For example, one beep means there is a problem with the memory, two beeps mean there is a problem with the motherboard, and five beeps mean there is a problem with the CPU. There are many other beep codes that you can learn about. If your motherboard has no built-in speaker, you can buy a cheap one and install it yourself.
LED Flashes:
In addition, the motherboard’s Lights may flash in a pattern that helps pinpoint the source of the issue. You may need to consult the motherboard’s user guide to decipher the significance of these blinking lights.
No Beep Sounds & No LED Light Flash:
Nothing will likely happen as a result. Don’t worry if there are no flashing lights or beeping noises. Not that this proves your motherboard is broken, but it is worth checking out.
Conclusion
The content above for the respective topic: How to test a motherboard without CPU, has described in detail that if you’re building your PC, it’s essential to test the motherboard without a CPU to ensure everything works. This will show if there are any problems and where they are. You can even find out if a new motherboard is broken (DOA) by testing it this way.
However, be careful when handling the motherboard because it can be easily damaged. If you need help with what to do, it’s best to ask a professional technician for help.
Frequently Asked Questions
How do I check if my motherboard has LED lights or internal beep speakers?
To determine whether your motherboard has LED lights or an internal beep speaker, you can refer to the manual that came with the motherboard. Another way to check is by visually inspecting the motherboard. The LED lights are typically easy to identify, and the beep speaker will resemble a small black cylinder.
Is there any other way to test a motherboard without a CPU?
Of course, you may also use a multimeter to check your motherboard without a central processing unit.
Is it okay to test the motherboard without a CPU?
It is very common to test your motherboard without a CPU installed. It is a reliable method of checking the health of your motherboard. But you should bring your computer to a computer shop if you are unsure how to accomplish it.


